
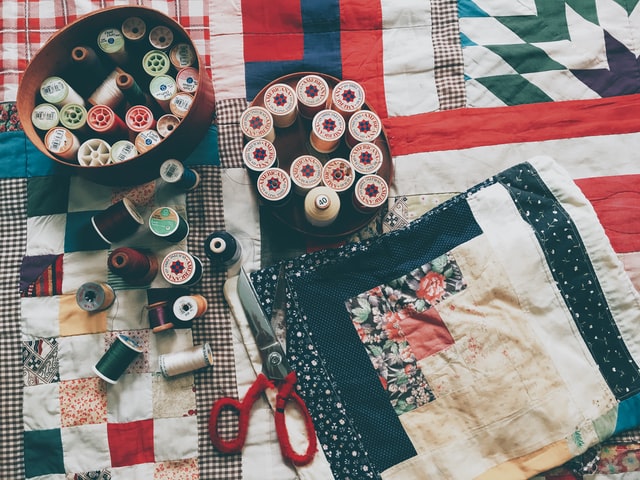
How to Put a Backing On a Quilt: Four Essential Steps
So, you’ve made a gorgeous quilt top. Congrats! Now, to finish your quilt and get it ready to use, you need to select and prepare backing fabric.
This isn’t a step-by-step guide on a specific way of sewing a quilt backing; rather, it’s a guide of important steps you should follow when preparing any backing. There are too many ways to learn how to put a backing on a quilt, and we’re not going to claim any one way is the best!
Here are four essential steps to keep in mind when figuring out how to put a backing on a quilt.
1. Choose Your Fabric Wisely
It goes without saying that the nicer the fabric, the longer your quilt will last. If you’ve chosen high-quality fabric for your quilt top, then you want to avoid choosing a low-quality quilt backing that will wear out much faster.
Some people insist on plain colors for the backing, while others prefer a loud, coordinated pattern that hides the machine quilting. There are no hard and fast rules for color coordination — this is the time to be creative and have fun!
As for sizing, it’s easiest if you purchase extra-wide fabric that’s wider than your quilt without piecing. If the backing fabric you love is not wide-back, you can piece yardage together to make a larger pieced backing.
2. Prepping the Backing
Your backing should be at least 3” larger than your quilt top on all sides!
If you’re going to be piecing patterned fabric together, consider aligning the fabric pattern to create a seamless look. You can also combine smaller yardage pieces — fat quarters, ½ yard, or even yard cuts — to create a unique pieced backing. Some quilters like to include leftover blocks when sewing their quilt backings, as well!
3. Securing the Layers
Place the backing wrong-side down and center the batting and quilt top right side up exactly in the middle, making sure the quilt top edges are straight on the backing fabric. Iron the quilt top and backing before basting to eliminate wrinkles. Baste the layers in place using basting pins or spray to secure. If you use pins, make sure the pin passes through all three layers.
Trust us — always baste your layers together before quilting!
4. Quilt or Tie the Quilt Sandwich
At this point, you can choose how to secure the quilt sandwich. Three popular options are machine quilting, hand quilting, or tying the quilt. Remember that there’s no right or wrong way to learn how to put a backing on a quilt. Each method has its benefits, and you can find video tutorials and step-by-step guides online to help you with your preferred method. The key is to secure all three layers together to create a durable finished quilt. Don’t stress about this step of the process — the most important part of quilting is having fun!
Once your quilt sandwich is secure, it’s time to bind your quilt. Find out more about binding here.
We hope you’ve learned some helpful tips for how to put a backing on a quilt. For high-quality fabrics, supplies, and more helpful tips, shop the collections at Sit n’ Sew Fabrics.
Recent Posts
-

Your New Favorite Tote!
Quilt-As-You-Go Sewing Tutorial Make a Scrappy Quilt-As-You-Go Tote Bag with Fat Quarters Key T …Jul 16th 2026 -

Embroidery Stabilizers Explained: How to Choose the Right Backing for Every Project
Embroidery Basics Choosing the Right Backing Key Takeaways: Embroidery stabilizer supports your f …Jul 9th 2026 -

Stitch a Stunning Cathedral Window Quilt
5" Square Quilt Tutorial Make a Cathedral Window Table Topper with 5" Fabric Squares Key Takeaway …Jun 11th 2026