
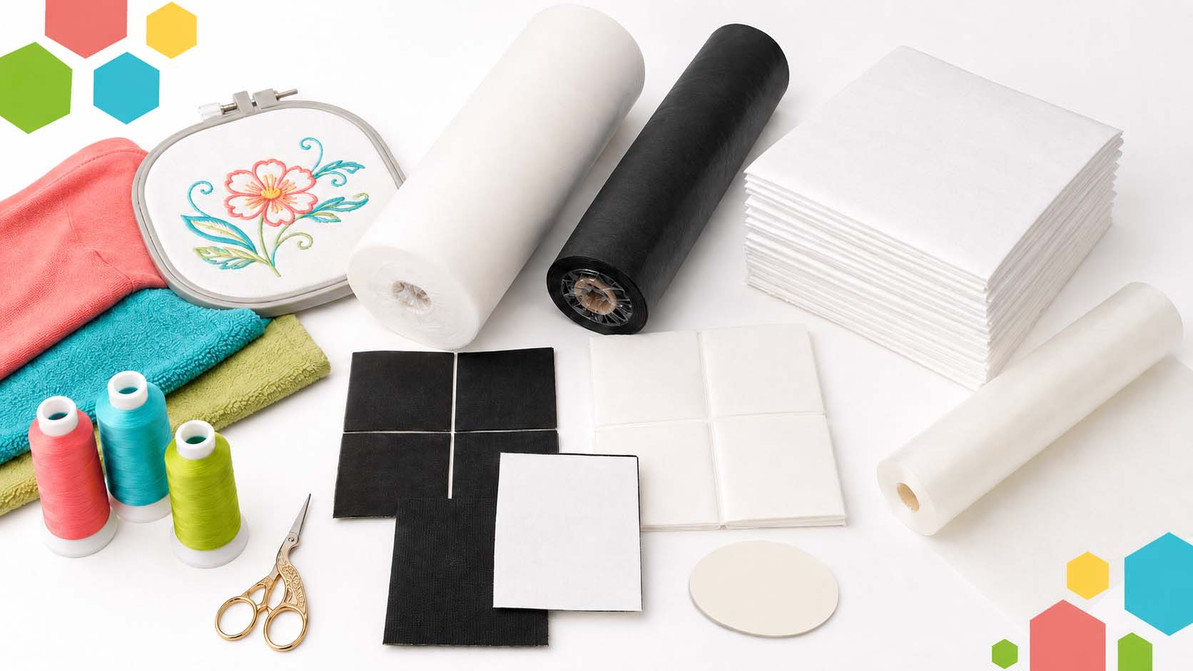
Embroidery Stabilizers Explained: How to Choose the Right Backing for Every Project
Embroidery Basics
Choosing the Right Backing
Key Takeaways: Embroidery stabilizer supports your fabric while the machine stitches, helping reduce puckering, shifting, stretching, and sinking stitches. The easiest way to choose backing is to start with your fabric, then look at the design density, the finished use, and whether the stabilizer should stay, tear away, wash away, or sit on top as a topping.
Ever stitch a design that looked perfect on screen, but puckered, stretched, or disappeared into the fabric once it was finished?
Most of the time, the problem is not your machine, your thread, or your design file. It is the foundation under your stitches. Embroidery stabilizer, also called embroidery backing, gives your fabric the support it needs so your stitches land where they should and stay looking neat after the project is finished.
Jump to a Section
What Is Embroidery Stabilizer?
Embroidery stabilizer is the material placed behind, under, or sometimes on top of fabric during machine embroidery. Its job is simple: keep the fabric steady while the needle is moving in and out hundreds or thousands of times.
Without enough support, fabric can stretch, ripple, shift, or pull inward around the stitches. That is when you start seeing puckering, wavy outlines, gaps in the design, or lettering that does not look as crisp as it should.
Think of stabilizer as the foundation
Fabric is the surface. Thread is the decoration. Stabilizer is the hidden support system that helps everything stay smooth, balanced, and durable.
Most machine embroidery projects need some type of stabilizer. The trick is choosing the right one for the fabric, design, and finished project.
Not sure which backing to use?
Use our quick online tool to narrow down your backing and topping options based on your project.
The Quick Answer: Which Backing Should I Use?
When you are in a hurry, start with these simple rules:
| Project Situation | Best Starting Choice | Why It Works |
|---|---|---|
| Stretchy fabric like T-shirts, polos, sweatshirts, knits, or performance wear | Cutaway or web mesh | It stays with the design and supports the stitches through wear and washing. |
| Stable woven fabric like denim, canvas, towels, bags, or some home decor items | Tearaway | The fabric is strong enough to support the design after stitching, so the backing can be removed. |
| Sheer, delicate, lace, or projects where backing should disappear | Washaway | It provides temporary support and can be removed with water. |
| Textured fabric like towels, fleece, corduroy, sherpa, or terry cloth | Backing plus water soluble topping | Backing supports the fabric from underneath while topping keeps stitches from sinking into the texture. |
| Hard-to-hoop items like small bags, collars, cuffs, small blanks, or awkward shapes | Peel & stick stabilizer | It lets you hoop the stabilizer first, then place the item on the adhesive surface. |
Helpful rule: The stretchier or less stable the fabric, the more lasting support it needs. The denser the design, the more support your backing should provide.
Main Types of Embroidery Stabilizers
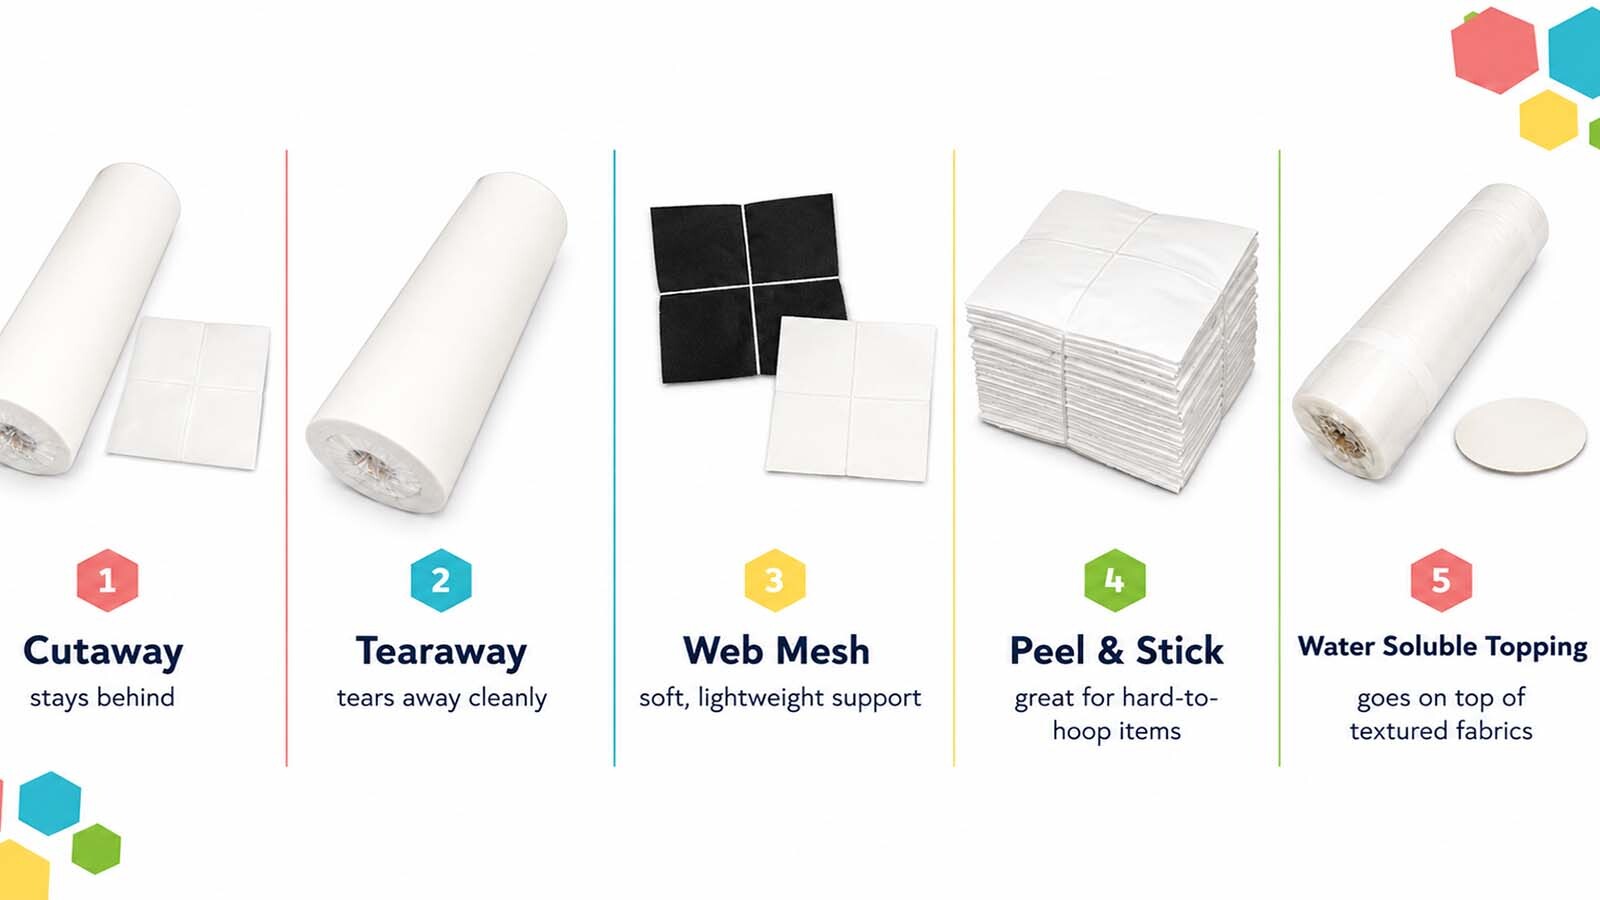
Stabilizers are often grouped by how they are removed after stitching. Some stay in the project, some tear away, some wash away, and some sit on top of the fabric only temporarily.
Cutaway Stabilizer
Cutaway backing is trimmed after stitching, but part of it stays behind the design. This makes it a strong choice for stretchy fabrics, knits, T-shirts, polos, sweatshirts, dense designs, and anything that will be worn or washed often.
Tearaway Stabilizer
Tearaway backing is removed by carefully tearing it away from the stitched design. It works well for stable fabrics that do not stretch much, such as denim, canvas, towels, bags, and certain home decor projects.
Web Mesh / No-Show Mesh
Web mesh stabilizer is a lightweight cutaway-style backing that adds support with less visibility and less bulk. It is especially helpful for lighter garments, performance shirts, polos, and designs where regular cutaway may show through.
Peel & Stick Stabilizer
Peel & stick backing is useful for projects that are difficult to hoop. Hoop the stabilizer, expose the sticky surface, and position your item on top before stitching.
What About Water Soluble Topping?
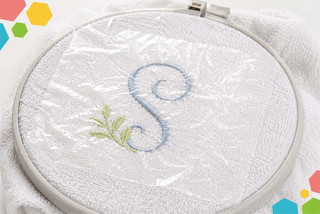
Topping is different from backing. Backing goes behind the fabric for support. Water soluble topping goes on top of the fabric to keep stitches from sinking into textured surfaces.
Use water soluble topping when embroidering on:
- Towels and terry cloth
- Fleece
- Sherpa
- Corduroy
- Chunky knits
- Blankets
- Any fabric where stitches may get buried in the texture
Topping is especially helpful for lettering and small details because it gives the stitches a smoother surface to sit on. After stitching, the topping is removed with water, steam, or a fine mist according to the product instructions.
Stitching towels, fleece, or blankets?
Pair the right backing underneath with water soluble topping on top so your stitches stay visible and clean.
Stabilizer by Fabric Type
Your fabric should always be the first clue. Fiber content matters less than how the fabric behaves. Ask yourself: Does it stretch? Is it loosely woven? Is it thin? Is it textured? Will the back be visible?
| Fabric or Project | Suggested Stabilizer | Extra Tip |
|---|---|---|
| T-shirts | Web mesh or lightweight cutaway | Avoid relying on tearaway alone because knit fabric needs lasting support. |
| Polos and golf shirts | Web mesh or medium cutaway | Use topping when the fabric has texture, such as pique knit. |
| Sweatshirts and hoodies | Medium to heavy cutaway | Dense designs may need extra support to keep outlines from shifting. |
| Denim and canvas | Medium to heavy tearaway or cutaway, depending on design density | Stable fabrics often work well with tearaway, but dense designs may need stronger backing. |
| Towels | Tearaway plus water soluble topping | Topping helps lettering and details stay on top of the loops. |
| Fleece and blankets | Cutaway or tearaway, plus topping | Choose backing based on stretch and design density. |
| Bags, cuffs, collars, or small hard-to-hoop areas | Peel & stick stabilizer | Hoop the stabilizer first, then place the item on the sticky surface. |
How Design Density Changes Your Backing Choice
Fabric is the first decision. The design is the second.
A small open design with running stitches does not need the same support as a dense fill design, heavy applique, or a logo packed with stitches. When there are more stitches in one area, the fabric is under more stress. That stress can pull the fabric inward, create puckers, or distort small lettering.
Low-Density Designs
Simple linework, light monograms, and small accent designs usually need less stabilizer. On stable fabrics, a lightweight or medium tearaway may be enough.
Medium-Density Designs
Most everyday embroidery designs fall here. Match your stabilizer to the fabric first, then move up in weight when the design has more filled areas.
High-Density Designs
Dense fills, detailed logos, applique, and small lettering need more support. Cutaway or layered stabilizer can help the design stay crisp.
Tip: When a fabric is stretchy and the design is dense, choose support for the most demanding part of the project. In many cases, that means cutaway or web mesh rather than tearaway alone.
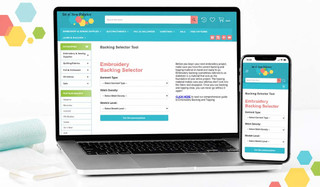
Use Our Online Backing Selector Tool
Still unsure which backing to choose? Our Online Backing Selector Tool is built to make the process easier.
Instead of guessing, you can select your project details and get a more focused recommendation based on the type of item you are embroidering. It is especially helpful when you are switching between garments, towels, blankets, bags, and other blanks.
Use the tool when:
- You are new to embroidery stabilizers.
- You are working with a fabric you have not stitched before.
- You are not sure whether to use cutaway, tearaway, web mesh, peel & stick, or topping.
- You want a faster starting point before testing your design.
Find your best backing match
Answer a few quick project questions and get pointed toward the stabilizer or topping that makes the most sense.
Should You Use More Than One Layer?
Sometimes, yes. One layer is enough for many projects, but some combinations need extra support.
You may want to layer stabilizer when:
- The fabric is stretchy or unstable.
- The design has dense fills or heavy satin stitches.
- You are stitching small lettering that needs crisp edges.
- The finished item will be washed often.
- You are testing a new fabric and want extra control.
For example, a lightweight shirt may benefit from web mesh closest to the garment with a temporary tearaway layer underneath during stitching. After embroidery, the tearaway layer can be removed and the web mesh remains for long-term support.
Just be careful not to over-stabilize. Too much backing can make a garment stiff, bulky, or uncomfortable. The goal is enough support, not the most support possible.
Common Stabilizer Mistakes
Mistake #1: Using Tearaway on Stretchy Garments
Tearaway is easy to remove, but it does not provide lasting support after it is torn away. On T-shirts, polos, sweatshirts, and performance fabrics, cutaway or web mesh is usually a better choice.
Mistake #2: Forgetting Topping on Textured Fabric
Towels, fleece, sherpa, and other textured fabrics can swallow stitches. Water soluble topping helps keep those stitches on the surface so your design looks cleaner.
Mistake #3: Choosing by Fabric Weight Only
A heavy fabric is not always stable, and a lightweight fabric is not always weak. Look at stretch, weave, texture, and design density before choosing your backing.
Mistake #4: Skipping the Test Stitch
Testing on a scrap or similar fabric gives you a chance to check puckering, density, hooping, topping, and how the backing feels after trimming or removal.
A Simple Stabilizer Decision Path
- Check the fabric: Is it stretchy, stable, delicate, sheer, or textured?
- Check the design: Is it light and open, or dense and filled?
- Check the finished use: Will it be worn, washed often, displayed, handled, or seen from the back?
- Choose the stabilizer: Cutaway for lasting support, tearaway for stable fabrics, web mesh for lighter garments, peel & stick for hard-to-hoop items, and topping for textured surfaces.
- Test before the final stitch-out: Make notes so your next project is even easier.
The more you test, the more confident you will feel choosing backing for future embroidery projects.
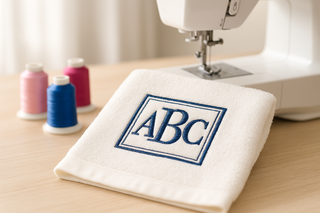
Ready to pick the right stabilizer?
Shop cutaway, tearaway, web mesh, peel & stick, water soluble topping, and other embroidery backing options for your next project.
Embroidery Stabilizer FAQ
What is the difference between backing and stabilizer?
In machine embroidery, backing and stabilizer are often used to mean the same thing. They refer to the support material used behind or under the fabric during stitching.
When should I use cutaway stabilizer?
Use cutaway stabilizer for stretchy fabrics, knits, T-shirts, polos, sweatshirts, performance wear, dense designs, and projects that will be worn or washed often. Cutaway stays behind the design to give long-term support.
When should I use tearaway stabilizer?
Use tearaway stabilizer for stable woven fabrics that can support the finished design after stitching. Denim, canvas, towels, bags, and certain home decor projects are common examples.
What is web mesh stabilizer used for?
Web mesh stabilizer is a lightweight cutaway-style backing used when you need support without a lot of bulk or show-through. It is a helpful choice for lighter garments, polos, performance shirts, and designs where comfort matters.
Do I need topping for towels?
Yes, water soluble topping is usually a smart choice for towels. It helps prevent stitches from sinking into the loops of the towel so the design stays more visible and defined.
What should I use for hard-to-hoop embroidery projects?
Peel & stick stabilizer is often helpful for small bags, collars, cuffs, small blanks, and other items that are difficult to hoop traditionally.
Can I use more than one layer of stabilizer?
Yes. Some projects benefit from layered stabilizer, especially when the fabric is stretchy, the design is dense, or the finished item will be washed often. Always test first so the project does not become too stiff or bulky.
Is there a tool to help me choose embroidery backing?
Yes. You can use the Sit n’ Sew Online Backing Selector Tool to help narrow down your backing and topping options based on your project.
Recent Posts
-
Machine Embroidery Needles: Sizes, Types & How to Choose
Machine Embroidery Needle Guide Machine Embroidery Needles Explained: Sizes, Points & How to Cho …Sep 10th 2026 -
Scrappy Pumpkin Patch Wall Quilt Tutorial with 5" Squares
Free Fall Quilt Tutorial Scrappy Pumpkin Patch Wall Quilt Tutorial with 5" Squares Key Takeaways: …Sep 2nd 2026 -
12 Spooky-Cute Designs & Projects to Stitch
Halloween Embroidery Inspiration 12 Halloween Embroidery Ideas for Spooky-Cute Projects Key Takea …Aug 10th 2026