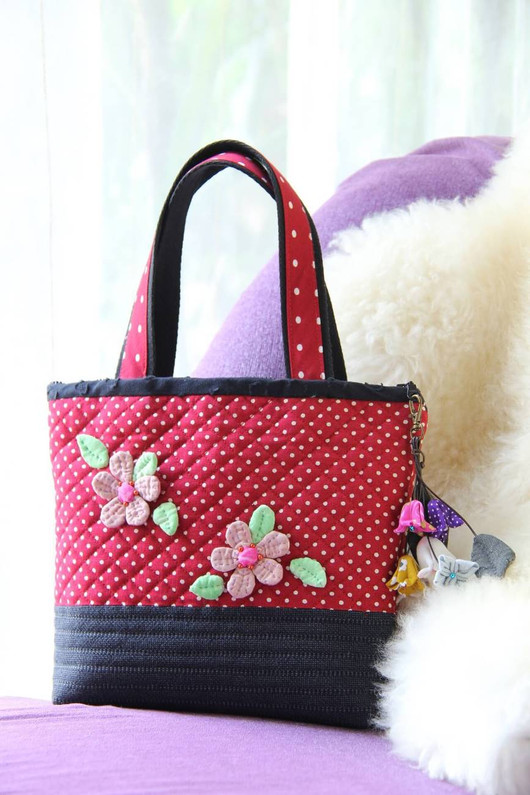
Its in the Bag: How to Make Your Own Tote Bag
Looking for an easy, quick-to-sew quilting project? Make your own tote bag and use up some of the leftover fabric in your stash. This simple project is perfect for beginning quilters and can be done in less than an hour. Your new bag will be perfect for grocery runs, storing new sewing supplies, or taking to the beach!
We’ve rounded up must-have materials and detailed, easy-to-read instructions so you can learn how to make a tote bag.
What You’ll Need to Make Your Own Tote Bag
Sewing Machine
Your favorite 2.5" charm pack or 42 2.5” x 2.5” Squares
Bias Binding
Fusible Fleece
Rotary Trimmer
Cutting Mat
Sewing Pins
Iron and Ironing Board
You can also use one of our Quilt as You Go Kits to learn how to make a tote bag! These quick and easy quilting kits print their patterns directly on the batting for an easy-to-follow, sew-by-number project to make your own tote bag.
How to Make a Tote Bag
How to Make a Tote Bag: Cutting Instructions
The finished tote bag will be 12” by 13.5”.
For the outside fabric, cut:
- 2 3.5” x 14.5” pieces
- 42 2.5” x 2.5” squares (you can also use your favorite 2.5” charm pack!)
- 9” x 14.5” piece
For the lining fabric, cut:
- 2 10.5” x 14.5” pieces
- 2 3.5” x 14.5” pieces
For the straps, cut:
- 2 4” x 22” strips
For the fusible fleece, cut:
- 30” x 16” piece
- 2 1.25” x 22” strips
How to Make a Tote Bag: Sewing Instructions
To create your panels:
- Arrange your 2.5” x 2.5” pieces in a 6 x 7 rectangular configuration on your cutting mat.
- Take your first column of 2.5” x 2.5” squares and pair them together with the second column, right sides together. Pin if necessary. Stack your pairs and bring them over to your machine.
- Using a straight stitch, chain-sew each pairing with a .25” seam allowance, leaving .25” between each pair.
- Bring your stitched squares back over to your cutting area and pair them with your third column, right sides together. Pin if necessary.
- Again, using a straight stitch, chain-sew each pairing with a .25” seam allowance, leaving .25” between each pair.
- Repeat with the additional 5 rows until you have a full 6 x 7 rectangle.
- Cut the thread between the third and fourth rows. This will be your front and back piece.
- Iron the seams of your front and back piece flat.
- Bring your front piece over to your sewing machine and fold the first row over the middle, right sides together. Sew the pieces together with a .25” seam allowance.
- Sew the third row to the middle with a .25” seam allowance, right sides together.
- Repeat with the back piece to create two patchwork panels.
- Sew each panel to your 3.5” x 14.5” piece, right sides together, with a .25” seam allowance.
- Arrange the 9” x 14.5” piece between your bag front and back. This will be the bottom of the bag. Sew the front to the bottom, right sides together, and repeat with the back piece using a .25” seam allowance.
To attach your tote bag to the batting:
- Pin your outside fabric to the fusible fleece, following package instructions. Iron the pieces together.
To create your lining:
- Sew one of your 3.5” x 14.5” strips to the top of your 10.5” x 14.5” piece with a .25” seam allowance. Repeat with the remaining pieces. This creates your lining.
- With the right sides together, sew down the sides of your front and back lining, leaving the top open. Stitch approximately 4” in on the bottom of the lining, leaving an opening to flip the lining right side out.
To create your straps:
- Lay your 2 4” x 22” pieces flat on your ironing board, facedown. Using an iron, press a .25” seam allowance on both sides. Then, fold in half, wrong sides together, and press.
- Open up your strap, and place your fusible fleece strip inside. Press.
To assemble the bag:
- Place your lining pieces right sides together and stitch the sides with a .25” seam allowance. Make sure to leave the top open.
- Place the lining inside the outside fabric, wrong sides together.
- Pin your straps 2” from the edges of your bag in between the outside and lining fabric.
- Sew all the way around the top of the bag with a .25” seam allowance. Finish with bias binding.
- You’ve now learned how to make a tote bag!
Save Time with Sit n’ Sew’s Ready to Sew Collection
Want to save time on cutting and prep when you make your own tote bag or quilt craft? Our Ready to Sew! Quilt Kits come with everything you need to jump right into your next project. Our high-quality quilting kits come with precision-cut and coordinated fabric shapes, backing, and binding in a variety of your favorite colors and designs.
Take out the most frustrating aspect of quilting – accurately cutting fabric – and get everything you need for your next quilting project today with Sit n’ Sew.
Recent Posts
-
Working with Curated Bundles
Many quilters find fabric selection to be the most stressful part of quilting. Working with a curate …Jul 25th 2024 -
Ohio Star Quilt Block
One of the best parts about quilting is how different fabrics can change a design. Let's take a …Jul 11th 2024 -
How to Create a Star Table Runner
Stars are such classic quilt blocks! Use the tutorial below to stitch your own star blocks, and then …Jun 27th 2024


