
Dresden Plate Quilt Pattern Tutorial
As far as classic quilt patterns go, a Dresden Plate is one of the most simple and rewarding. Dresden Plates are blocks that can be added to a full-sized quilt, a wall decoration, or anything else your imagination can cook up.
One of the many great things about Dresden Plate quilt patterns is that they work wonderfully with precut kits like stash builders or fat quarter bundles. Working with these pre-coordinated fabrics means you’ll end up with a great pattern and color scheme without a whole lot of effort. And if you're looking for a way to use up your scraps, a Dresden Plate is a great option for that too!
What You’ll Need
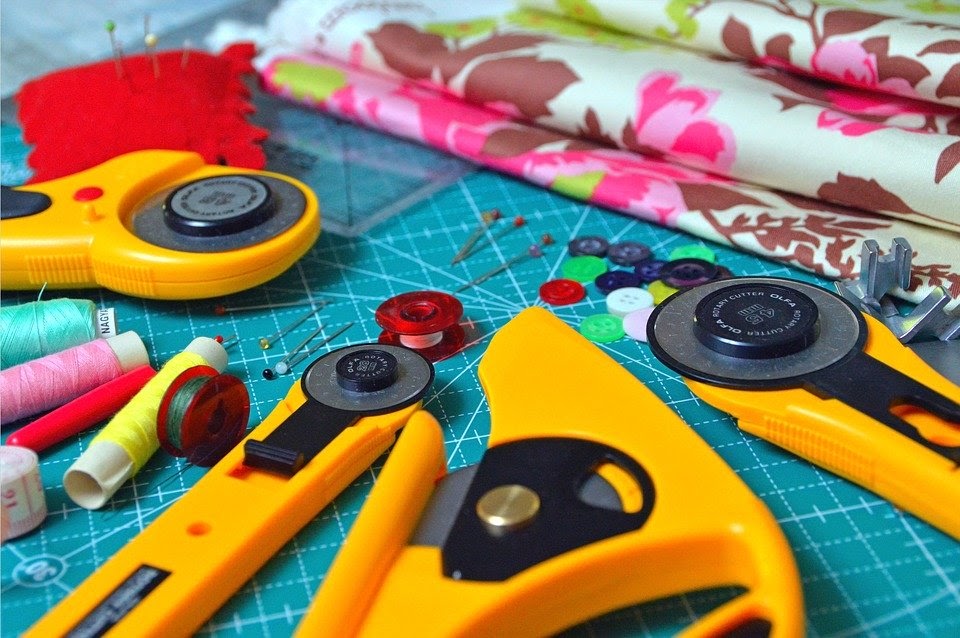
Fabric
- 16 “blades” (the fabric lengths that spiral around the center) cut from the template
- 1 fabric circle for the center
- 1 square of background fabric on which to sew the Dresden Plate. Quilt patterns will vary on what the size and shape of this background should be.
Supplies
- Sewing machine and/or a hand sewing needle, depending on preference
- Thread of your choice (higher quality thread means your project will last longer)
- Ruler
- Fabric marking pen
- Extra sharp fabric scissors
- Iron and ironing board
Dresden Plate Tutorial: Instructions
-
Cut Out the Blades
- If you’re using one of our Dresden Plate Kits, the pieces will already be precut and you can skip this step!
- Your pattern should come with dimensions for your fabric pieces. Using your desired fabrics, cut out 16 “blades” out of your fabric.
- Some patterns use more or fewer blades around the circle, which is totally fine. You can change the amount depending on how big you want your block to be.
- To make this process go quicker, stack up to 4 fabric pieces together and cut them simultaneously. If you don’t trust yourself, cut one at a time.
- Make sure you’re cutting a ½-inch seam allowance around the blade shape for sewing.
- Remember to iron all fabric before and after each step! We don’t want our fabric to stretch or warp when cutting or sewing.
-
Sew the Blades Together
- Fold each blade in half lengthways so the right side of the fabric is together.
- Crease down the middle to mark the centerline.
- Sew a ¼-inch seam across the top of the blade, the wide end at the top.
- Turn each blade over and fold the top so that it has a triangle shape. Clip or pin this in place. Optionally, if you have a pointer tool, use this to create a sharp point. Make sure you line up this point with the centerline you’ve created.
- Place two blades right side together and sew them along the long edge with a ¼-inch seam allowance. Back stitch at each end.
- After you sew two blades together, iron them flat.
- When you’ve sewn a quarter of your total blades together, make sure you have a 90-degree angle. If you do, you’re doing it right! Do one quarter at a time to make sewing easier for yourself, as you’ll be working with less fabric at a time that way.
- Repeat until you’ve sewn them all into a circle with a hole in the middle.
-
Cut the Center Circle
- Now, you need a centerpiece to cover that gaping hole in the middle.
- Again, you can skip this step if you’re using one of our kits.
- For the center circle, measure out and cut a circle out that’s ¼-inch wider than how large you want the circle to be.
- Pin the circle over a thick piece of paper or cardboard that is the correct-sized circle from your pattern and iron it down so you have a visible, circular seam.
- Attach the circle to the center of the Dresden Plate quilt pattern as you would an applique. The size of the circle as well as your method of application depends on your preference. You can also glue this in place.
-
Sew to the Background
- Quilt your completed Dresden Plate to a background square of your choosing — adding batting between the layers if you’d like — and it’s all done!
Congratulations, you’ve finished our Dresden Plate tutorial! Now it’s ready to attach to a quilt, a pillow, or whatever project you have in mind.
Follow Sit n’ Sew’s Blog for More Sewing Fun!
At Sit n’ Sew, we eliminate the whole tricky cutting process with our precision-cut Dresden Plate quilt pattern kits, so you can get right to sewing and have it done lickety-split.
We hope you’ve enjoyed our Dresden Plate tutorial. If you have any questions about this post or your order, feel free to contact us or leave a comment below.
Recent Posts
-

Stitch a Stunning Cathedral Window Quilt
5" Square Quilt Tutorial Make a Cathedral Window Table Topper with 5" Fabric Squares Key Takeaway …Jun 11th 2026 -

Stitch a Flower Garden: Applique Fabric Blooms the EASY Way!
Spring Applique Tutorial Make a Flower Garden Applique Mini Quilt with 5" Fabric Squares Key Tak …May 28th 2026 -

Dimensional Pinwheels Quilting Project
Spring Quilting Tutorial Make a Dimensional Pinwheel Wall Quilt with 5" Fabric Squares Key Takea …Apr 30th 2026