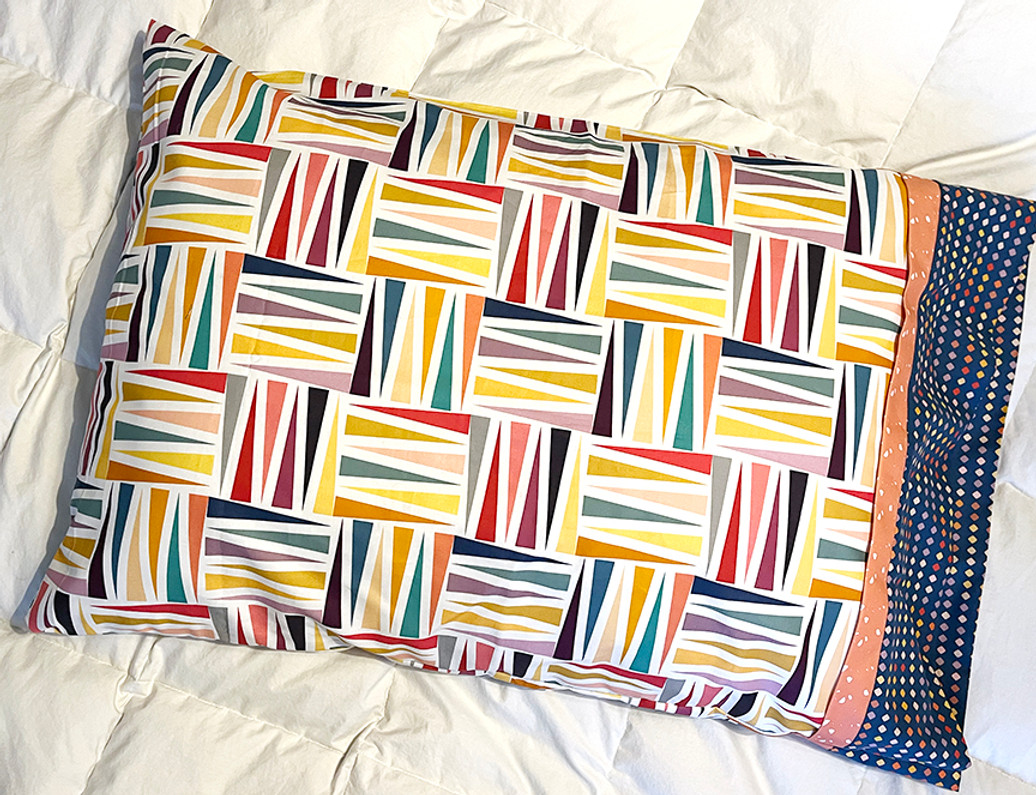
Simple Pillowcase Tutorial
Have you ever sewn a pillowcase?
They're quick and easy to make using the burrito-style method!
They're quick and easy to make using the burrito-style method!
Sewing a pillowcase is a quick and easy project, and they're wonderful for gifts - for kids or grandkids (or maybe even a special pillow at grandma's house), for graduates heading off to college, or even to coordinate with your latest bed quilt finish.
This pillowcase uses three fabrics - a focal print, a coordinating cuff print, and an accent print.
Scroll down for a step-by-step tutorial for pillowcase making.
What you need: Grab one of our pillowcase kits to get started - we've done all the fabric matching work for you!
I love the burrito method because it encases the seams very neatly. No muss, no fuss! Plus, you can sew the entire pillowcase with just two seams!
For a video tutorial of this process, click here.
Let's start with cutting:
From the cuff print:
(1) 9" x 41" strip
From the focal print:
(1) 26-1/2" x 41" rectangle
(1) 26-1/2" x 41" rectangle
From the cuff print:
(1) 9" x 41" strip
From the accent print:
(1) 3" x 41" strip
(1) 3" x 41" strip
Making the Pillowcase
Step 1: Press the 3" x 41" accent strip in half lengthwise, wrong sides together. Pin along the top edge of the 9" x 41" cuff strip, matching raw edges.
Step 2: Lay the 26-1/2" x 41" focal rectangle on top, right sides together, and pin in place. Your fabric sandwich will be: cuff fabric (bottom), folded accent strip (center), main pillow (top).
Step 3:Beginning at the bottom (opposite the pinned edge), tightly roll the focal rectangle all the way until it is centered on the cuff fabric. This keeps it out of the way as you stitch.
Step 4: Pull the bottom edge of the cuff fabric around the rolled fabric and align the raw edges of the cuff fabric with the pinned edge. Pin in place (either adding more pins, or re-pinning the existing pins through this additional layer of fabric). Make sure that the fabric roll is not near the pinned edge. Stitch through all layers along the pinned edge using a 1/4" seam allowance.
Step 5: Turn the tube right side out, pulling the focal rectangle out. After you've pulled all the fabric out, lay out the pillowcase and press the cuff away from the accent strip on both sides. Square up the cuff/accent strip/main pillow edges as needed.
Step 6: Fold the pillowcase in half, right sides together and matching raw edges, and pin along raw edges. Stitch along the pinned edges of the pillowcase using a 1/4" seam allowance and backstitching at the beginning and the end. Turn pillowcase right side out and insert pillow. Enjoy!
Are you ready to sew your own pillowcase? Grab one of our pillowcase kits and get started! And be sure to check out our YouTube tutorial if you need help!
Apr 4th 2025
Recent Posts
-
A Fruity Fun Fat Quarter Project
Join me to turn a fat quarter bundle into a fun and fast-to-finish sewing project! A cheerful squa …Jan 8th 2026 -
Why Thread Quality Matters
Why Thread Quality Matters: How Cheap Thread Can Ruin a Stitch-Out If you’ve ever watched a beauti …Dec 18th 2025 -
Holiday Placemats - A Quick Fat Quarter Tutorial
Quick Holiday Placemats with a Christmas Fat Quarter Bundle We all know Christmas is around the cor …Dec 11th 2025


