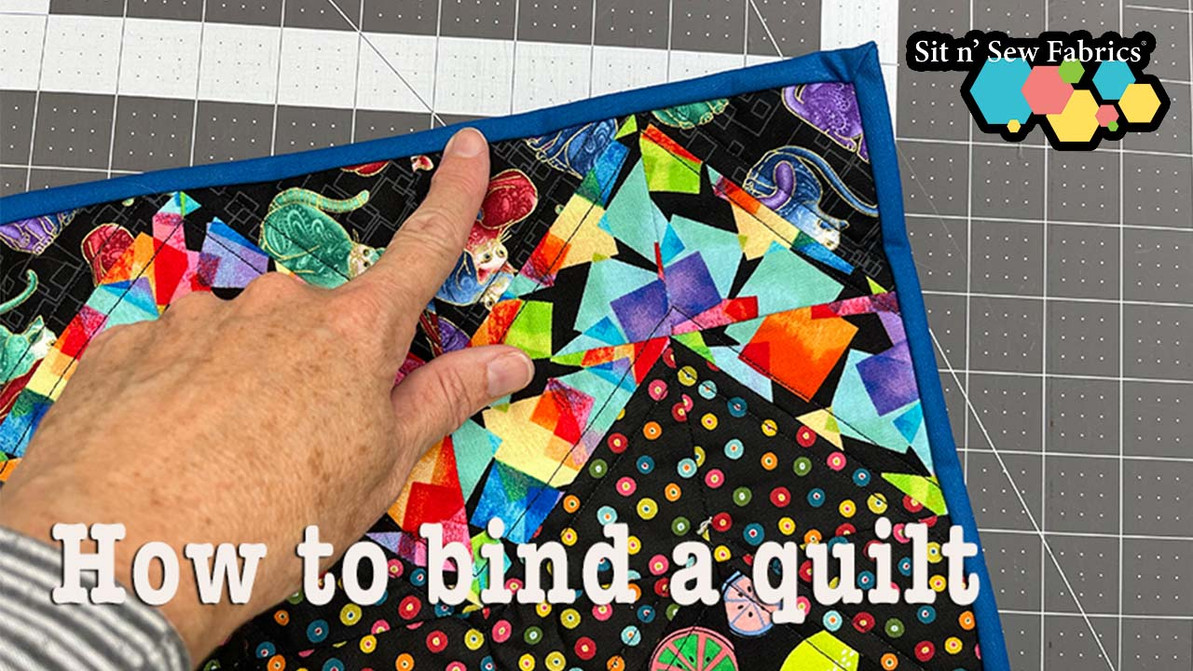
Quilt Binding 101
I've had several questions lately about quilt binding, so it seemed like the right time to share a binding tutorial. Binding is the last step of making a quilt - the finishing touch! Keep reading for step by step instructions on how to bind your quilt or watch the YouTube video tutorial.
Start by cutting strips. Measure the length and width of the quilt, add them together, and multiple by 2. This is the perimeter of the quilt. Add 12". This is the minimum length of binding you will need. Divide that number by 40 (width of fabric), round up to the nearest whole number, and that's how many strips you need to cut. Cut strips at 2-1/4" wide and trim selvedge ends. Check out this handy chart to help cut your strips.
To join the strips, lay one strip right side up horizontally and the second strip vertically on top, right side down, overlapping the ends as shown.
Draw a diagonal line from corner to corner along the top strip. This will be your stitch line. Keep strips aligned as shown and move to the sewing machine.
Stitch on the drawn line and trim seam allowance to 1/4". Repeat to join remaining strips.
Press seam open to reduce bulk.
Press long strip in half with wrong sides together.
Lay the folded binding strip on one side of the quilt, matching raw edges. Leave a 6"-8" tail and begin sewing the binding to the quilt, using a 1/4" seam allowance. Stop 1/4" from the first corner.
To create a mitered corner, fold the binding strip up so the raw edges align with the second edge of the quilt. This creates a diagonal fold in the corner. Finger press in place.
Then fold the binding strip down, aligning the new fold with the top edge of the first quilt side.
Sew along the second edge of the quilt starting at the top edge and stopping 1/4" from the next corner. Continue sewing around all four sides of the quilt, mitering each corner.
After rounding the fourth corner, stop sewing the binding strip to leave an 8" opening from the starting sewing point.
Trim the starting binding end about 4" from the where the stitching starts. Fold the second binding end back on itself at that cut edge, and cut binding strip end to measure 2-1/4".
Press the binding away from the front edge of the quilt.
Turn the quilt over, fold binding over the quilt raw edges, and press down. Use binding clips or pins to hold binding in place temporarily. Hand or machine stitch to secure the binding to the back side of the quilt.
Your quilt is complete! Nice job!
Oct 17th 2024
Recent Posts
-
Why Thread Quality Matters
Why Thread Quality Matters: How Cheap Thread Can Ruin a Stitch-Out If you’ve ever watched a beauti …Dec 18th 2025 -
Holiday Placemats - A Quick Fat Quarter Tutorial
Quick Holiday Placemats with a Christmas Fat Quarter Bundle We all know Christmas is around the cor …Dec 11th 2025 -
Tutorial - Autumn Triangles Quilt Kit from Sit n' Sew Fabrics
This time of year, everyone's focus is on the gorgeous fall colors. The leaves don't last long, thou …Oct 30th 2025


