
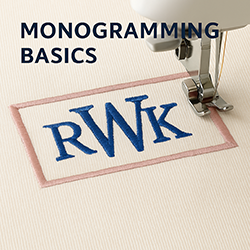
Mastering Monogramming
|
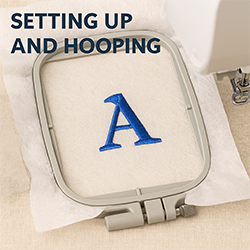
Start Here
Planning your design
|
|
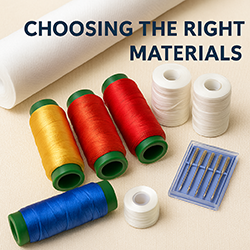
Thread
Thread
Quality thread matters for crisp monograms and long-lasting color. SNS stocks polyester, rayon, and metallic embroidery threads from trusted brands like Madeira & Coats.
|
Jan 29th 2026
Recent Posts
-

Diamonds Galore!
Sit n' Sew Fabrics • Quilt Tips Let’s Talk Diamonds! Diamond quilts are beautiful to look at, an …Mar 6th 2026 -
")
Essential Tools for Embroidery Beginners (...and Novices)
Embroidery Troubleshooting Why Your Machine Embroidery Projects Aren’t Going as Smoothly — and the …Feb 25th 2026 -

Perfect Half Square Triangles
Sit n’ Sew Fabrics • Quilting Tutorial Half-Square Triangles (HSTs): 3 Ways + 1 to Skip …Feb 19th 2026