
Embroidery Blog - Hooping Tips & Tricks
Machine Embroidery Hooping Tips (Home & Single-Head Machines)
A practical guide to stabilizer choices, alignment, floating, and fast fixes.

Quick win: pick stabilizer for the fabric first, then size your hoop to the design. Those two choices prevent most issues.
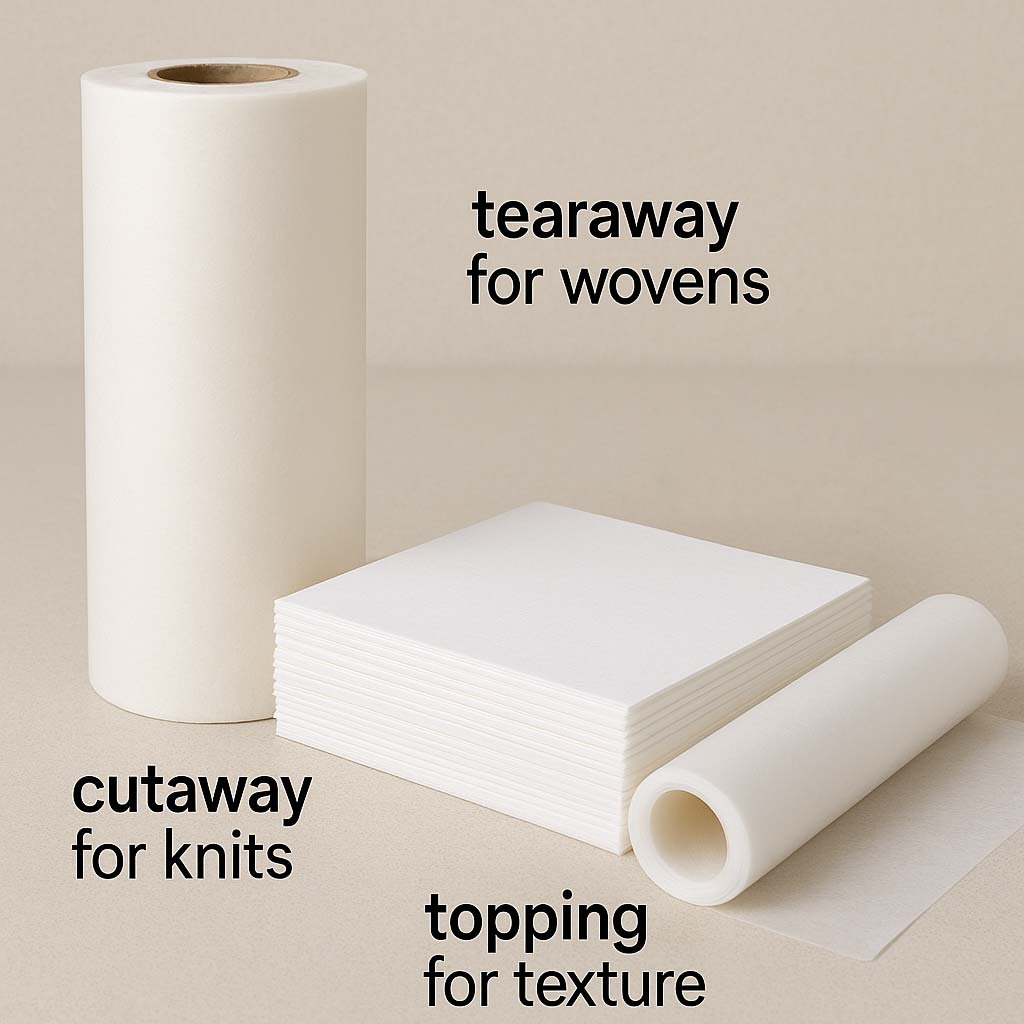
1) Start with the right stabilizer (match fabric first)
Knits & tees (stretchy)
Use cutaway or no-show mesh (polymesh) to control stretch. Add a water-soluble topping if the knit has texture.
Wovens (non-stretch)
Tearaway is usually enough for stable cottons and denim.
High-pile/texture (towels, fleece, minky)
Use a water-soluble topping so stitches don’t sink.
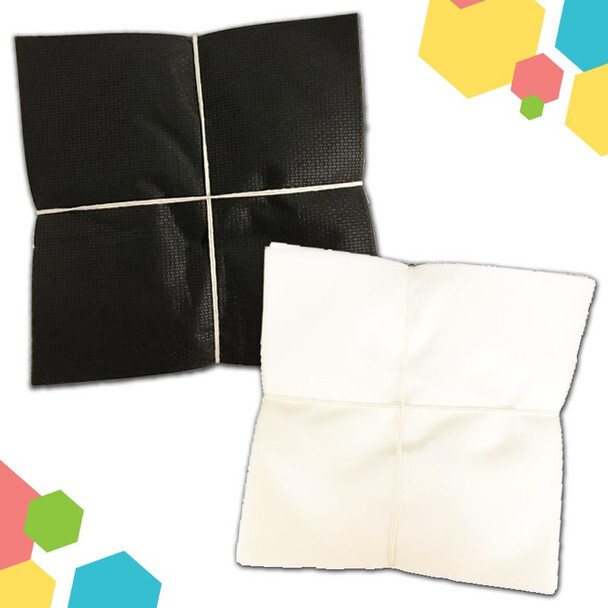
Hard-to-hoop items
Use Peel-&-Stick or hoop only the stabilizer and float the item.
2) Marking & alignment (2 minutes that save garments)
Mark the center and baseline with a washable pen or chalk. Use your hoop’s grid to keep everything straight.
3) Classic hooping: quick checklist
- Pick the smallest hoop that fits your design.
- Place stabilizer under the fabric and hoop together (unless using stick-on stabilizer).
- Press the outer hoop down evenly; tighten until fabric is firm and smooth—think drum-tight, not stretched.
- Re-check alignment lines before you stitch.

4) Floating & adhesive: when and how
When: thick seams, tiny placements, slick fabrics, or anything that can’t be hooped.
How: Hoop adhesive stabilizer, score the paper, stick the garment, and secure edges with a light temporary spray if needed. Add a basting box around the design.
5) Magnetic hoops & hooping stations (optional tools)
Magnetic hoops can speed setup and provide even pressure with less hand strain—great for bulky items and repeat work. A hooping station helps you square things consistently.
6) Fabric-specific “mini recipes”
- 1 layer no-show mesh or soft cutaway
- + topping for textured knits
- Use the smallest hoop that fits
- Tearaway under + topping on top
- Float if hoop marks are a concern
- Baste around the design
- Peel-&-Stick or float with light spray
- Consider magnetic hoops or a station
- Slow speed slightly
7) Needle, thread & bobbin notes
- Use a fresh embroidery needle sized for fabric/thread (75/11 is a common start for 40wt).
- Choose quality embroidery thread (poly for durability, rayon for sheen).
- Keep bobbins consistent across the run.
Embroidery Needles • Embroidery Thread • Bobbins
8) Fast troubleshooting
- Check the tension or density of design
- Heavier or extra layer of backing
- Check design density
- Confirm fabric wasn’t stretched in the hoop
- Double check the digitizing as this is typically an error for movement of fabric type being used and/or direction of stitching movement
- Be sure that your garment is hooped properly
- Make sure you're using the correct size hoop for your project
- Check your hoop tension - the hoop may be too tight
- Consider magnetic hoops
- Use a steamer to remove the hoop marks or use magic sizing/spray starch
Shop the essentials
 |
Cutaway Backing
For knits & tees
|
 |
Web Mesh / No-Show
Soft support, low show-through
|
 |
Tearaway Backing
For stable wovens
|
 |
Water-Soluble Topping
Keeps stitches on top
|
 |
Peel & Stick
Float hard-to-hoop items
|
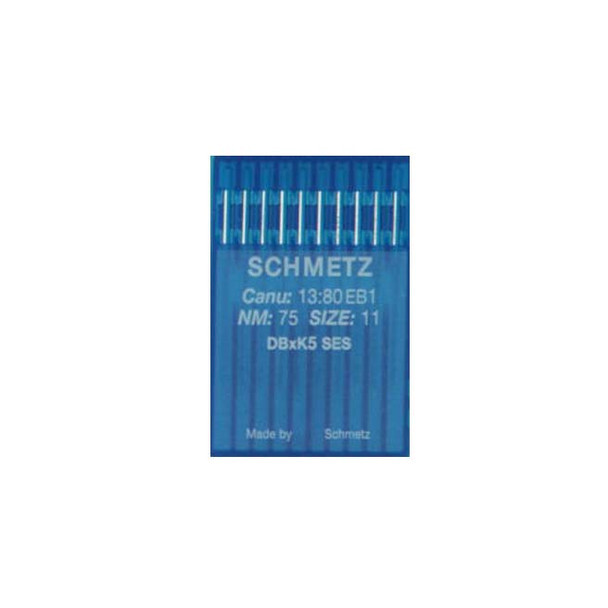 |
Embroidery Needles
Fresh needle, better stitch
|
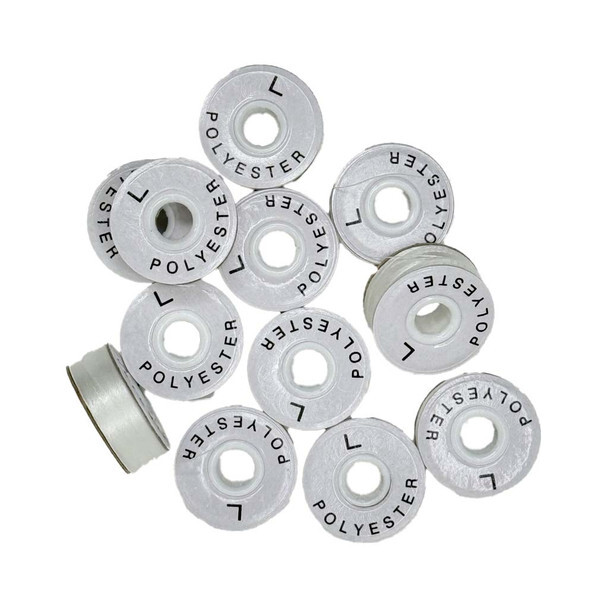 |
Bobbins
Consistent tension
|
 |
Embroidery Thread
Poly & rayon options
|
Questions about which stabilizer to use? Tell us your fabric type and design size—we’ll point you to the right combo.
Recent Posts
-

Diamonds Galore!
Sit n' Sew Fabrics • Quilt Tips Let’s Talk Diamonds! Diamond quilts are beautiful to look at, an …Mar 6th 2026 -
")
Essential Tools for Embroidery Beginners (...and Novices)
Embroidery Troubleshooting Why Your Machine Embroidery Projects Aren’t Going as Smoothly — and the …Feb 25th 2026 -

Perfect Half Square Triangles
Sit n’ Sew Fabrics • Quilting Tutorial Half-Square Triangles (HSTs): 3 Ways + 1 to Skip …Feb 19th 2026