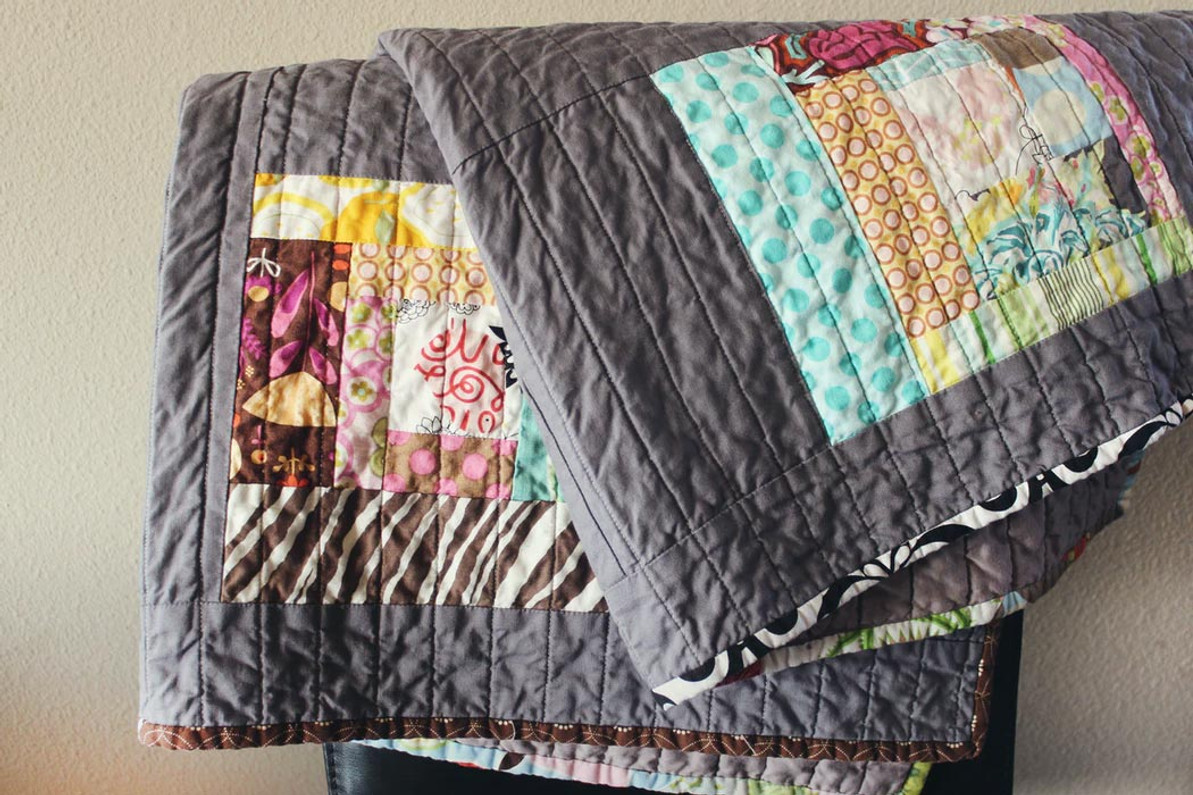
Attaching Binding To A Quilt | A Handy Guide By Sit n’ Sew
We’ve been there: you’ve worked hard on a beautiful quilt, putting hours of love and care into every stitch. Now that it’s time to put on the finishing touches, you get binding stage fright.
Binding is the very last step in the quilting process after you’ve quilted together your three layers—backing, batting, and the quilt top. It creates the outer edge of the quilt that protects and hides the raw edges of the fabric. Ideally, the corners of the binding should be seamless, folded neatly together in a precise fashion.
Putting binding on a quilt is simple once you get the hang of it, but the first couple times can be a challenge. We’ll show you how exactly to fold and stitch the binding so you can do your beautiful quilt top justice.
There are many ways to attach binding to a quilt, but we’ll show you our favorite method—double binding with mitered corners.
- Trim the excess batting and backing.
- After quilting, you might have excess backing fabric and batting poking out from beneath the quilt top. Cut this away using a square ruler to make sure all three layers of your quilt are as even as possible. The neater these edges are, the neater your binding process will be.
- Measure and cut your fabric strips.
- Cut fabric strips for your binding.
- One easy way to measure how much binding length you'll need is to find the length of the perimeter of your finished quilt and add 12 inches. For example, if your quilt measures 20” by 40”, the length of binding you’ll need should be 132” in total. This allows for corners and seams.
- The width of the binding strips can vary widely, and it comes down to personal preference. A good initial binding width is 2 ½ inches (1 ¼ inch on either side). Smaller widths can be a bit more fiddly, but in many traditional quilts, the binding is only ¼” on either side.
- Attaching binding to a quilt is easier with a precut quilt kit. This cutting process will have been done for you, so you’ll have no mistakes to worry about.
- Sew all strips together on the diagonal.
- Layer two strips right sides together at right angles and sew with a diagonal seam.
- Continue adding strips in the same way. Trim seam allowance to ¼” and press seams open.
- Fold and press the strip lengthwise wrong sides together.
- It’s important this step is precise—this is the frame of your quilt, after all. It may help to fold your strips together along a long quilting table and measure it frequently as you fold.
- Iron it down in half.
- Pin it in place with mitered corners.
- Starting on one side of the quilt and leaving about 8” of binding free, pin the strip down with the raw edges of the binding aligned with the raw edges of the front of the quilt. You can also use binding clips instead of pins to keep this in place—this helps you avoid sticking yourself while you’re moving the quilt around.
- To make mitered corners, pin one side to the edge, then fold the strip up at a 45-degree angle. Pin that corner in place, then fold the strip back down towards yourself so there is a protruding, triangular flap. You’ll now be able to sew that flap down for a beautiful finish.
- Continue pinning all the way around the quilt. When your strip ends meet , pin them in place. You’ll connect and trim them later..
- Sew the raw edges.
- Sew the binding down with a ¼” seam allowance.
- When you get to the corners, sew BENEATH the folded corner first, then fold it the other direction and sew BENEATH it on the other side. You’re not sewing the corner down until you fold it to the other side.
- Stop sewing about 10” before reaching the starting point. Lay quilt flat and bring binding ends together. Trim one end 2-½” past where they meet. Join the binding ends using a diagonal seam and press open. Continue sewing this now-joined binding strip to the quilt.
- Fold it over and sew again.
- When you fold your binding over and hide the raw edge, you’ll be able to see how neat and tidy putting binding on a quilt with mitered corners is.
- Press the binding away from the quilt top, and then turn the quilt over and press it over the raw edges. Pin it down all in one go. Working from the front of the quilt, stitch in the ditch of the binding to secure the folded binding edge on the back side. Choose a thread the color of your binding to hide the stitches if you wish.You can use a machine or sew by hand. Don’t be scared to hand sew this! It can be mindless and very relaxing.
- The corners should be smoothed and shaped as you pin. Sew them down as you go, and you should have a crisp, professional result.
That’s it! You’re done attaching binding to a quilt and you should have an amazing finished product.
For more tutorials, browse the Sit n’ Sew Fabrics blog. Make sure you check out our store for precut kits, embroidery supplies, and high-quality fabric. Happy sewing!
Recent Posts
-
Valentine's Project - Quilted Postcards
Quilted Valentine Postcards Quick, easy, and SEW fun — these appliqued heart postcards are the swe …Jan 22nd 2026 -
A Fruity Fun Fat Quarter Project
Join me to turn a fat quarter bundle into a fun and fast-to-finish sewing project! A cheerful squa …Jan 8th 2026 -
Why Thread Quality Matters
Why Thread Quality Matters: How Cheap Thread Can Ruin a Stitch-Out If you’ve ever watched a beauti …Dec 18th 2025


