
Sweet Baby Quilts & Tutorial
Baby quilts are wonderful gifts - and even more wonderful is having one ready to go when a baby comes! With a baby coming soon in my extended family, I've put together a tutorial for a One Weekend Baby Quilt.
All you need is 8 fat quarters, backing fabric (1-1/8 yards) and batting (39" square), and you can make this quilt too! The pattern is a disappearing nine-patch quilt, and the finished quilt measures 33" square. Perfect for a baby!
 I used the Sweet Baby Girl fat quarter bundle shown below. There's a Sweet Baby Boy option as well, and the prints would look lovely mixed together too.

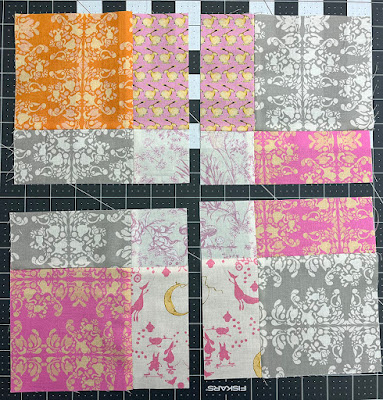 And all my blocks together:


 I used the Sweet Baby Girl fat quarter bundle shown below. There's a Sweet Baby Boy option as well, and the prints would look lovely mixed together too.
 |
| Sweet Baby FQ bundles |
Cutting:
From each of (8) fat quarters, cut:
(1) 2-1/4" x 21" binding strip (8 total)
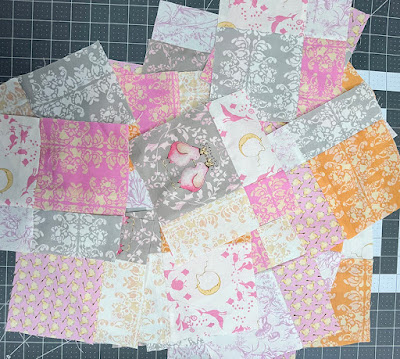
(2) 5" x 21" strips, subcut (8) 5" squares (64 total, you'll use 63)
Cutting tips:
Tip 1: Layer 2-3 fat quarters together and cut through multiple layers at once.
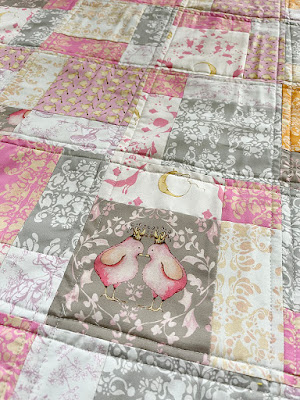
Tip 2: If you have a print with motifs that would be cute centered in a square, fussy cut those fat quarters instead.

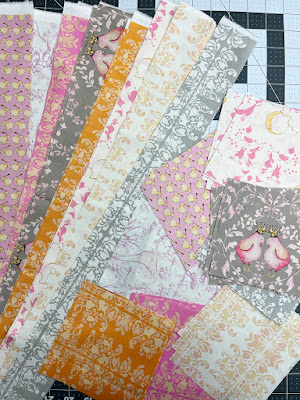
Here's a look at all of my cut pieces. So much Sweet Baby goodness!

Step 1: Lay out (9) squares into (3) rows of (3). Sew the squares into rows and join the rows together to make a nine-patch unit. Make (7).
A couple tips:
Tip 1: These blocks will be cut in half horizontally and vertically. Consider putting smaller prints in the center and larger focal prints in the corner spots.
Tip 2: Don't worry if you have some fabric repeats in your nine-patch layout. As long as they're not adjoining squares, when the unit is cut up, these duplicates won't be together.

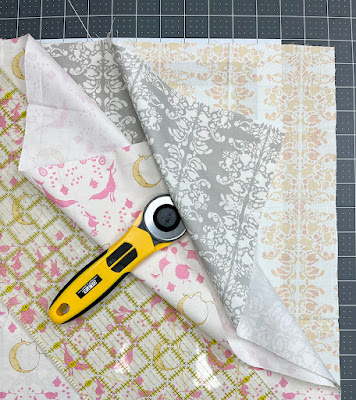
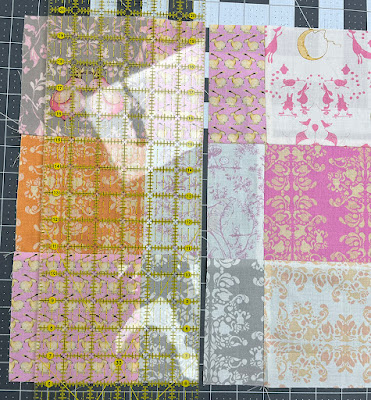
Step 2: Cut each nine-patch unit in half vertically. This means aligning the 2-1/4" line on your ruler on the left vertical seam. After cutting, leave the two halves in place. Rotate the ruler 90 degrees, set up on the 2-1/4" line again, and cut the unit in half perpendicularly to the first cut. This creates (4) 7" square unfinished blocks. Repeat with all (7) nine-patch units for a total of (28) blocks (use 3).

Here's what a cut-up nine-patch unit looks like: 4 blocks! Notice that each block is different, although they all have the same small square in the corner. With (7) nine-patches, you'll end up with a wide variety of block combinations - great to make a fun scrappy-looking quilt!


Step 3: Lay out the blocks into (5) rows of (5) blocks each. Below are three different layouts that I auditioned. Once you've decided on block orientation, you can rearrange the blocks to spread out color placement.


Step 4: Sew the blocks into rows and join the rows.
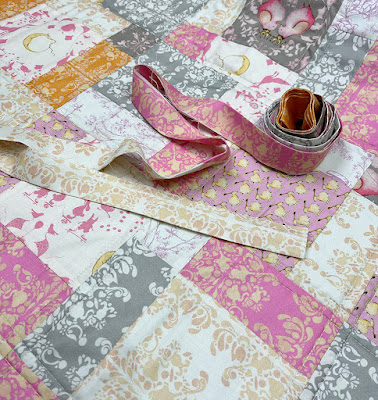
Layer with batting and quilt backing (1-1/8 yards will work perfectly!), baste, and then quilt. I used straight lines 1/4" on either side of each block seam line.

Step 5: Sew the (8) 2-1/4" x 21" binding strips short ends together into a long strip and bind. That's it!

Here's my finished quilt:

And shown with some fuzzy friends!

Mar 21st 2025
Recent Posts
-

Diamonds Galore!
Sit n' Sew Fabrics • Quilt Tips Let’s Talk Diamonds! Diamond quilts are beautiful to look at, an …Mar 6th 2026 -
")
Essential Tools for Embroidery Beginners (...and Novices)
Embroidery Troubleshooting Why Your Machine Embroidery Projects Aren’t Going as Smoothly — and the …Feb 25th 2026 -

Perfect Half Square Triangles
Sit n’ Sew Fabrics • Quilting Tutorial Half-Square Triangles (HSTs): 3 Ways + 1 to Skip …Feb 19th 2026